How to make a Magic Circle/Adjustable Ring
I start almost all of the hats I make with a magic circle. It’s a fantastic way to start anything that is worked in the round if you want to be able to control the amount of “holey space” in the middle. With the magic ring, you can pull the hole as tight as you physically can leaving no gaping hole in the middle of your hat. If a pattern suggests you chain 2 then work a round in the second chain, replace it with the magic ring and you’ll be real pleased with the results.
I’ve seen this method called the magic ring, adjustable circle, magic loop and many other similar combinations. Whatever you want to call it, it is a great way to start a hat or any other item that is worked in the round.
 1)Create ring and position with working yarn on top.
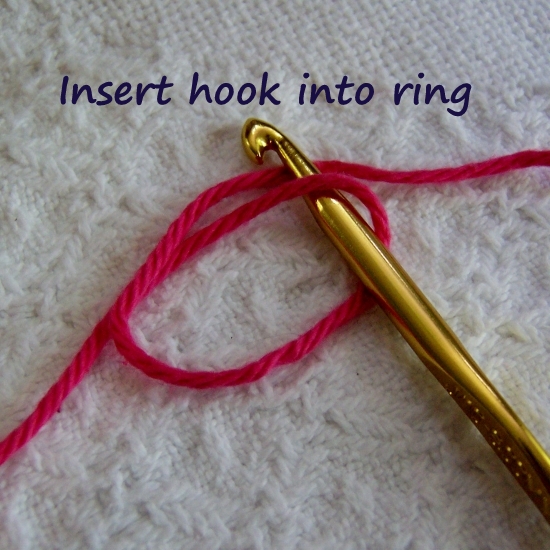
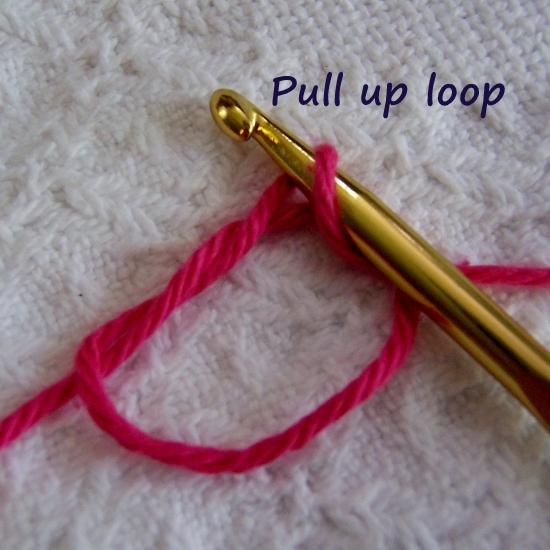
2) Insert hook into ring and pull up a loop.

3) Secure with a chain stitch.
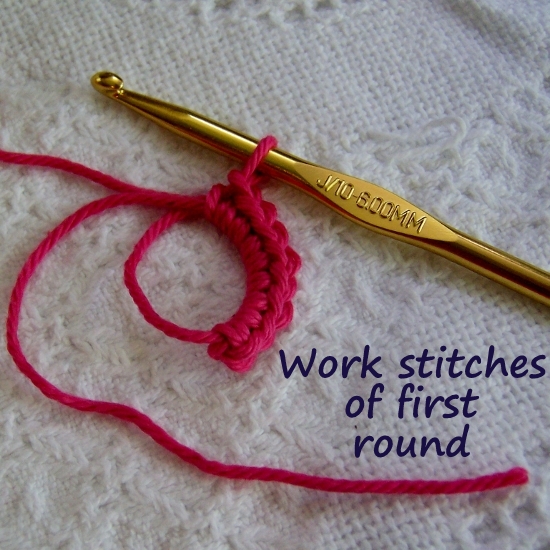
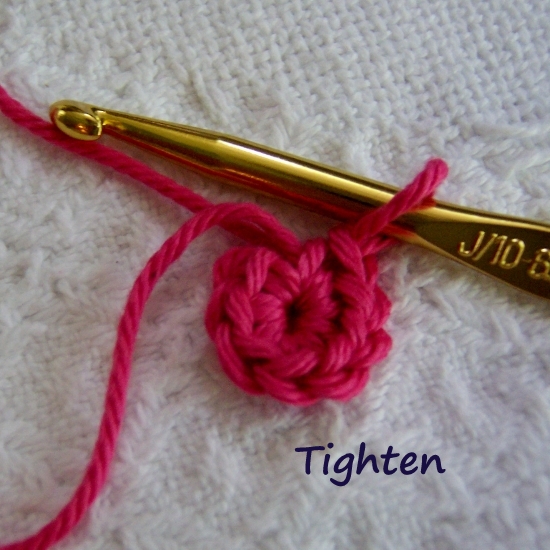 4) Work stitches of 1st round (sc here) over both BOTH strands of yarn and pull tight with the END strand.
5) Continue with pattern.

Pingback: The Secret to Great Granny Squares | Crochet By Darleen Hopkins
Pingback: Free Pattern, Spring Blossoms Hair Clips | CrochetByDarleenHopkins
Pingback: Seeing Stars | CrochetByDarleenHopkins