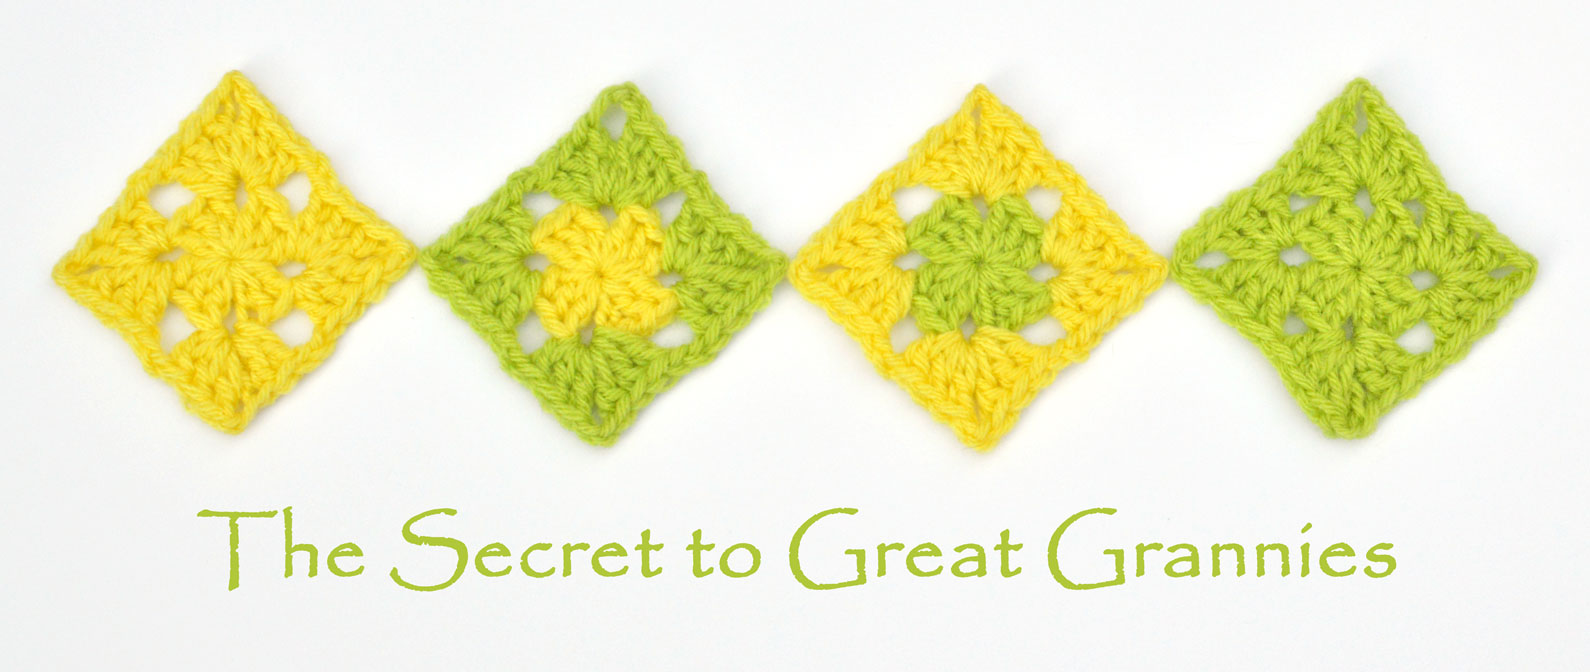
The Secret to Great Granny Squares
Grannies, aka granny squares, are the epitome of the awesomeness that is crochet. They can be big and bulky, fun and quirky and even sleek and elegant. I remember the first time I saw a granny square. It was one my sister made. She signed up for a beginning crochet class at the local library the summer she was 10 years old. Once a week that summer she rode her bike back and forth to the library to learn the craft. One of the items she made was an afghan for her bed. The afghan was a giant, purple and white granny square. I loved it. And in true big sister fashion, she shared with me the skills she had learned. We had some challenges, one was our age and two, she’s a lefty and I am a righty. While I managed to learn the basics I never really did much with crochet back then. Over the next couple of years my sister’s interest in crochet faded. Fast forward 40+ years and I’m crocheting constantly now. And I have never forgotten that amazing gigantic purple granny square.
So what is the secret to great grannies?
1. The beginning. My preferred method is to use a magic circle/adjustable loop to start a granny. This method allows you to pull the center tight. Unless, of course, you want a space in the middle then, by all means, start your granny with a joined loop of starting chains. It is your granny so start it the way you like for the look you want!
The granny on the right was started with the magic circle/adjustable loop method. The granny on the left was started with chaining four and then joined to form a ring. Neither have been blocked.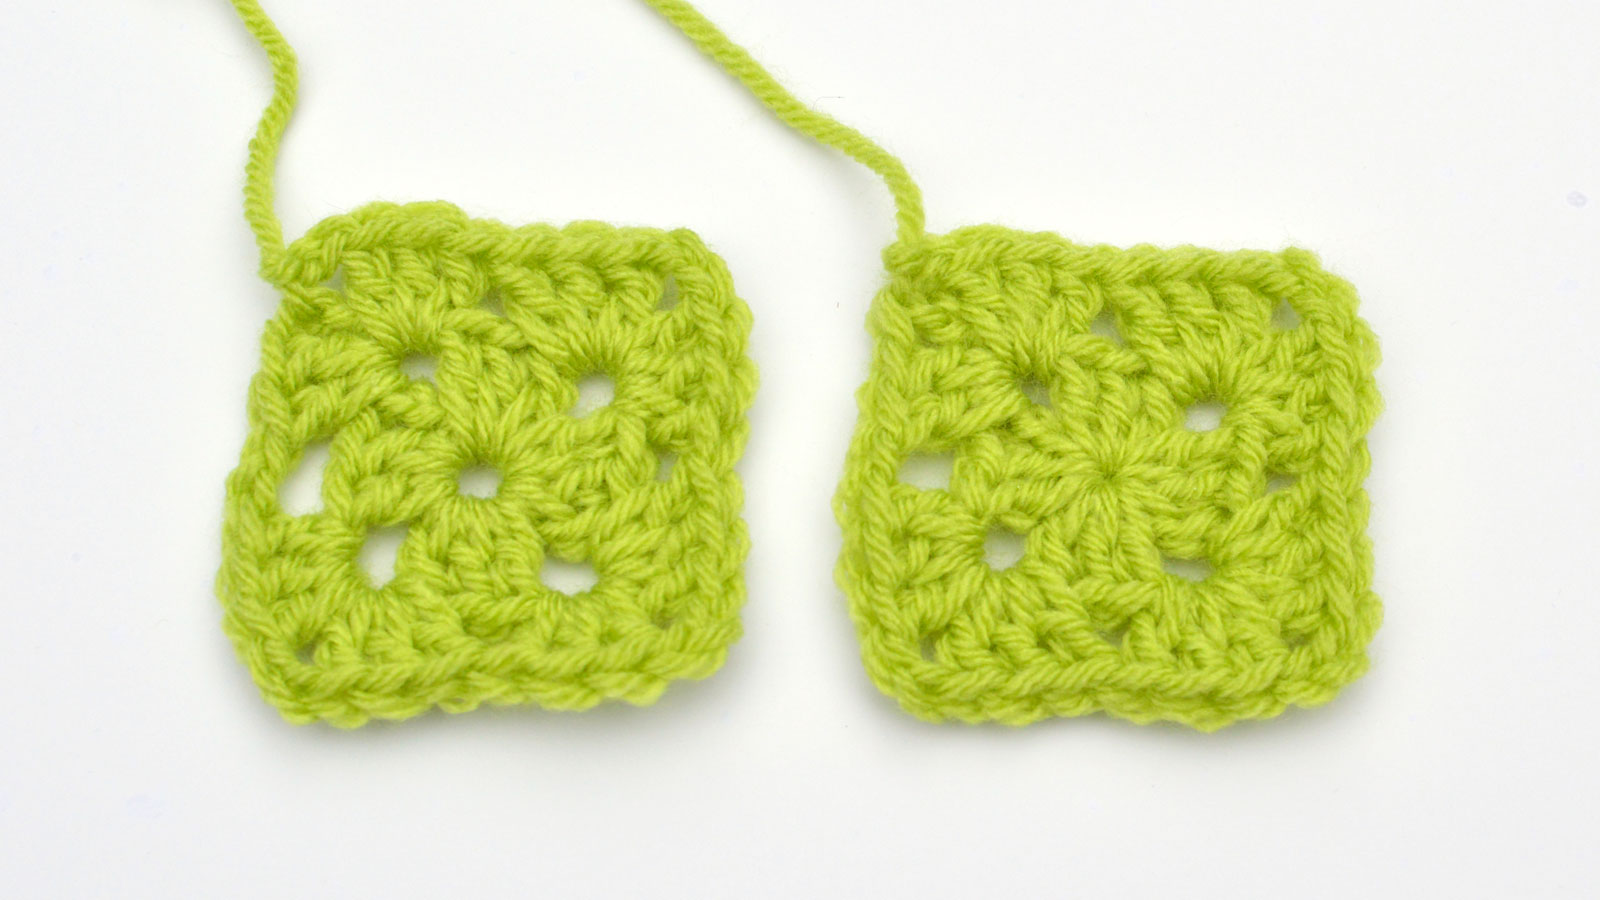
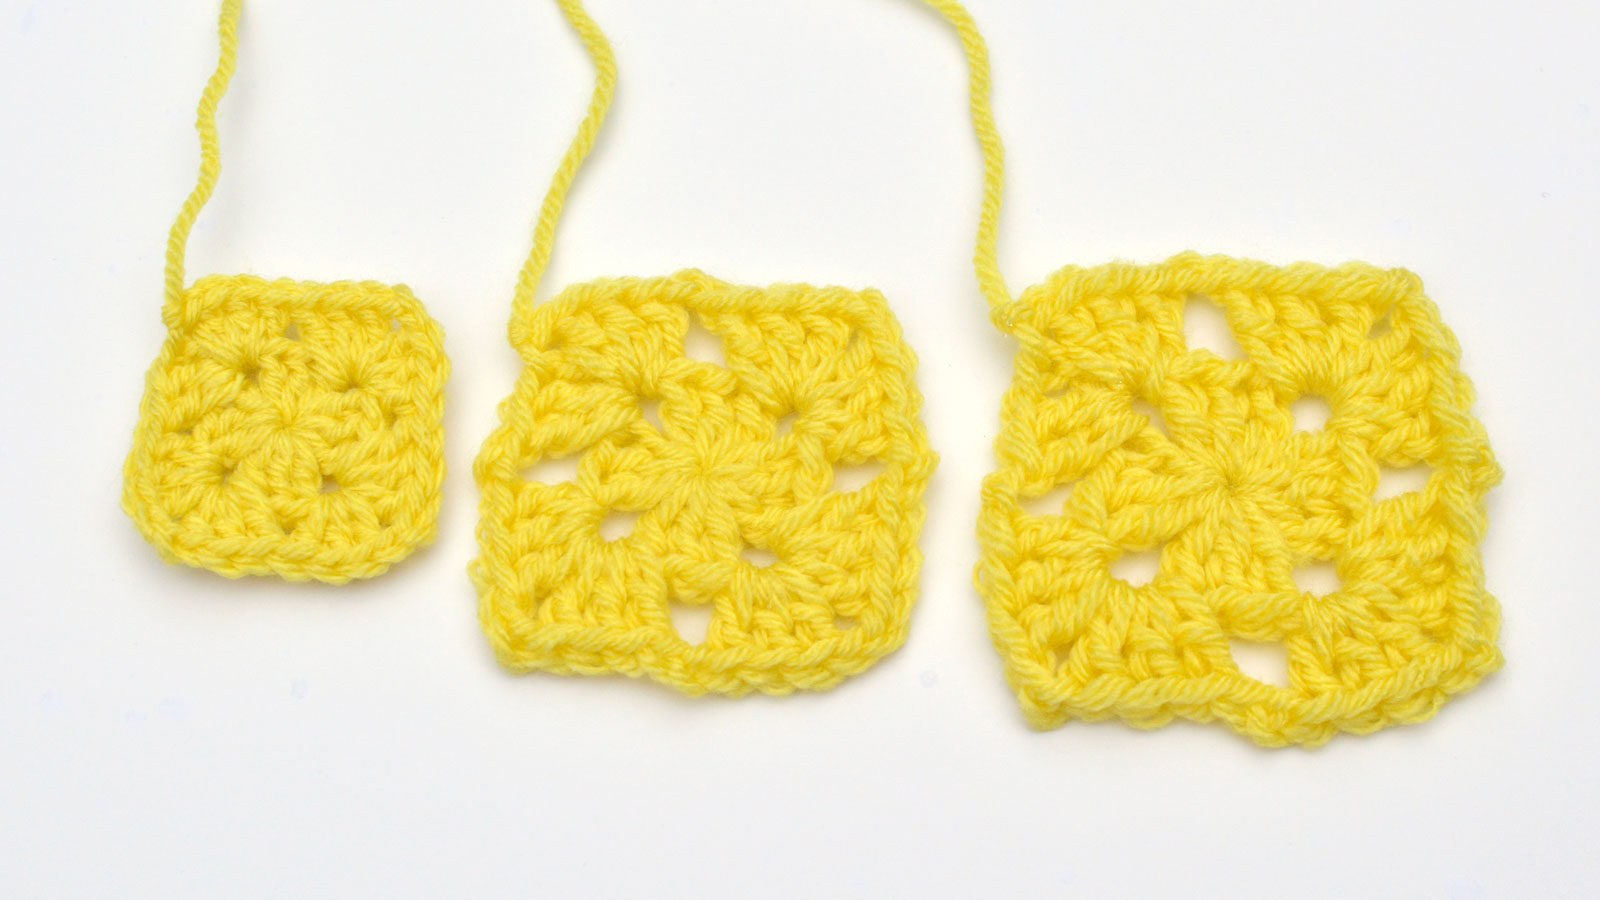
2. Yarn and hook selection. While granny squares are versatile and look great in any yarn or thread, it is important to always work with a hook that is appropriate for your yarn. If your hook is too small for the yarn, your granny might cup, curl or lose the defining spaces. If it is too big, your granny may be floppy, sloppy, or be too holey. You also want to use a yarn that is appropriate for the project. If you are making a scarf or a baby blanket, use yarn dk to aran weight. If you are using your grannies in a dressy headband, you may want to use thinner, delicate yarns like fingering or lace weight.
The granny in the middle was crocheted with the yarn label’s recommended hook size. The granny on the left was crocheted with a smaller hook while the on the granny on the right was crocheted with a larger hook. Neither have been blocked.
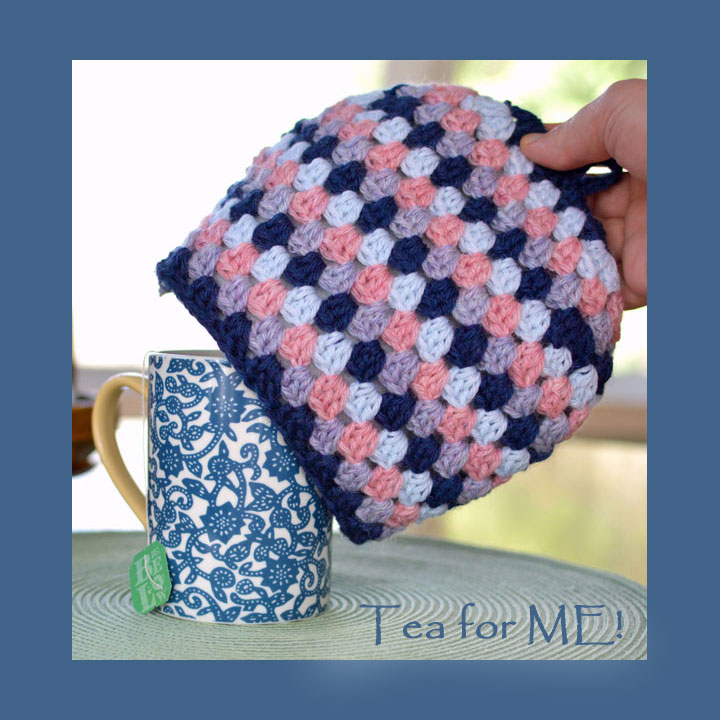
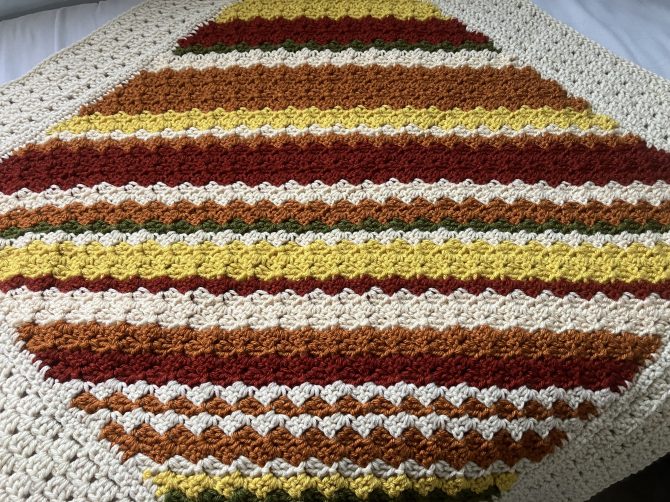
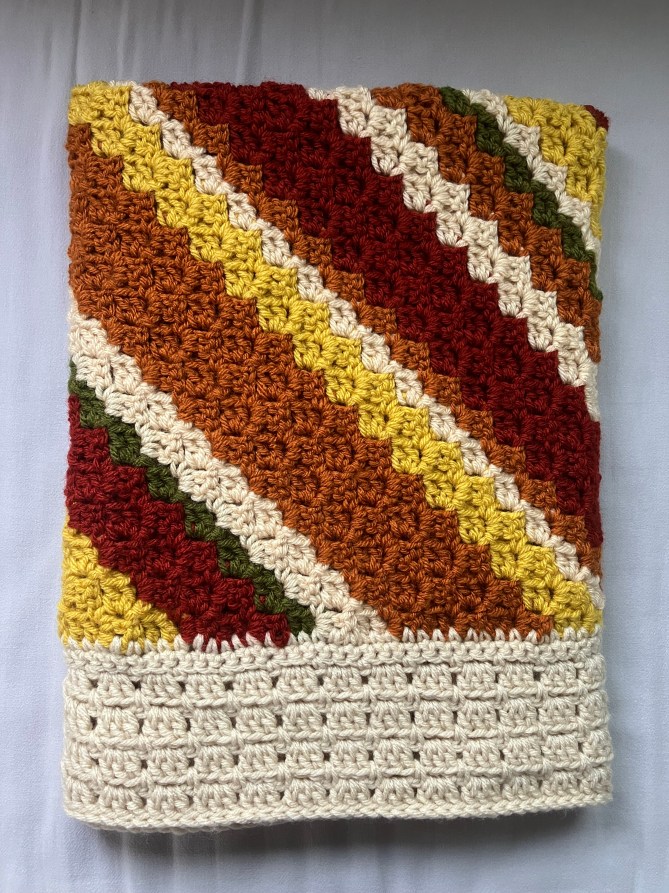
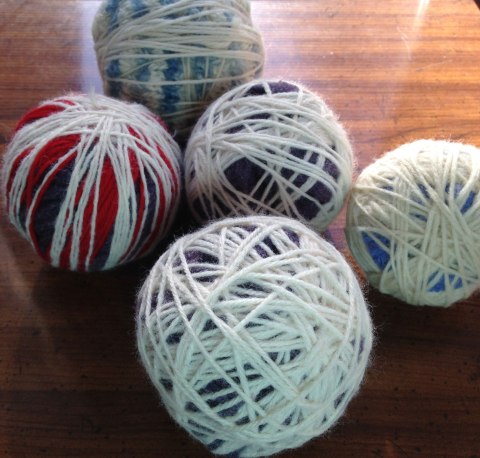
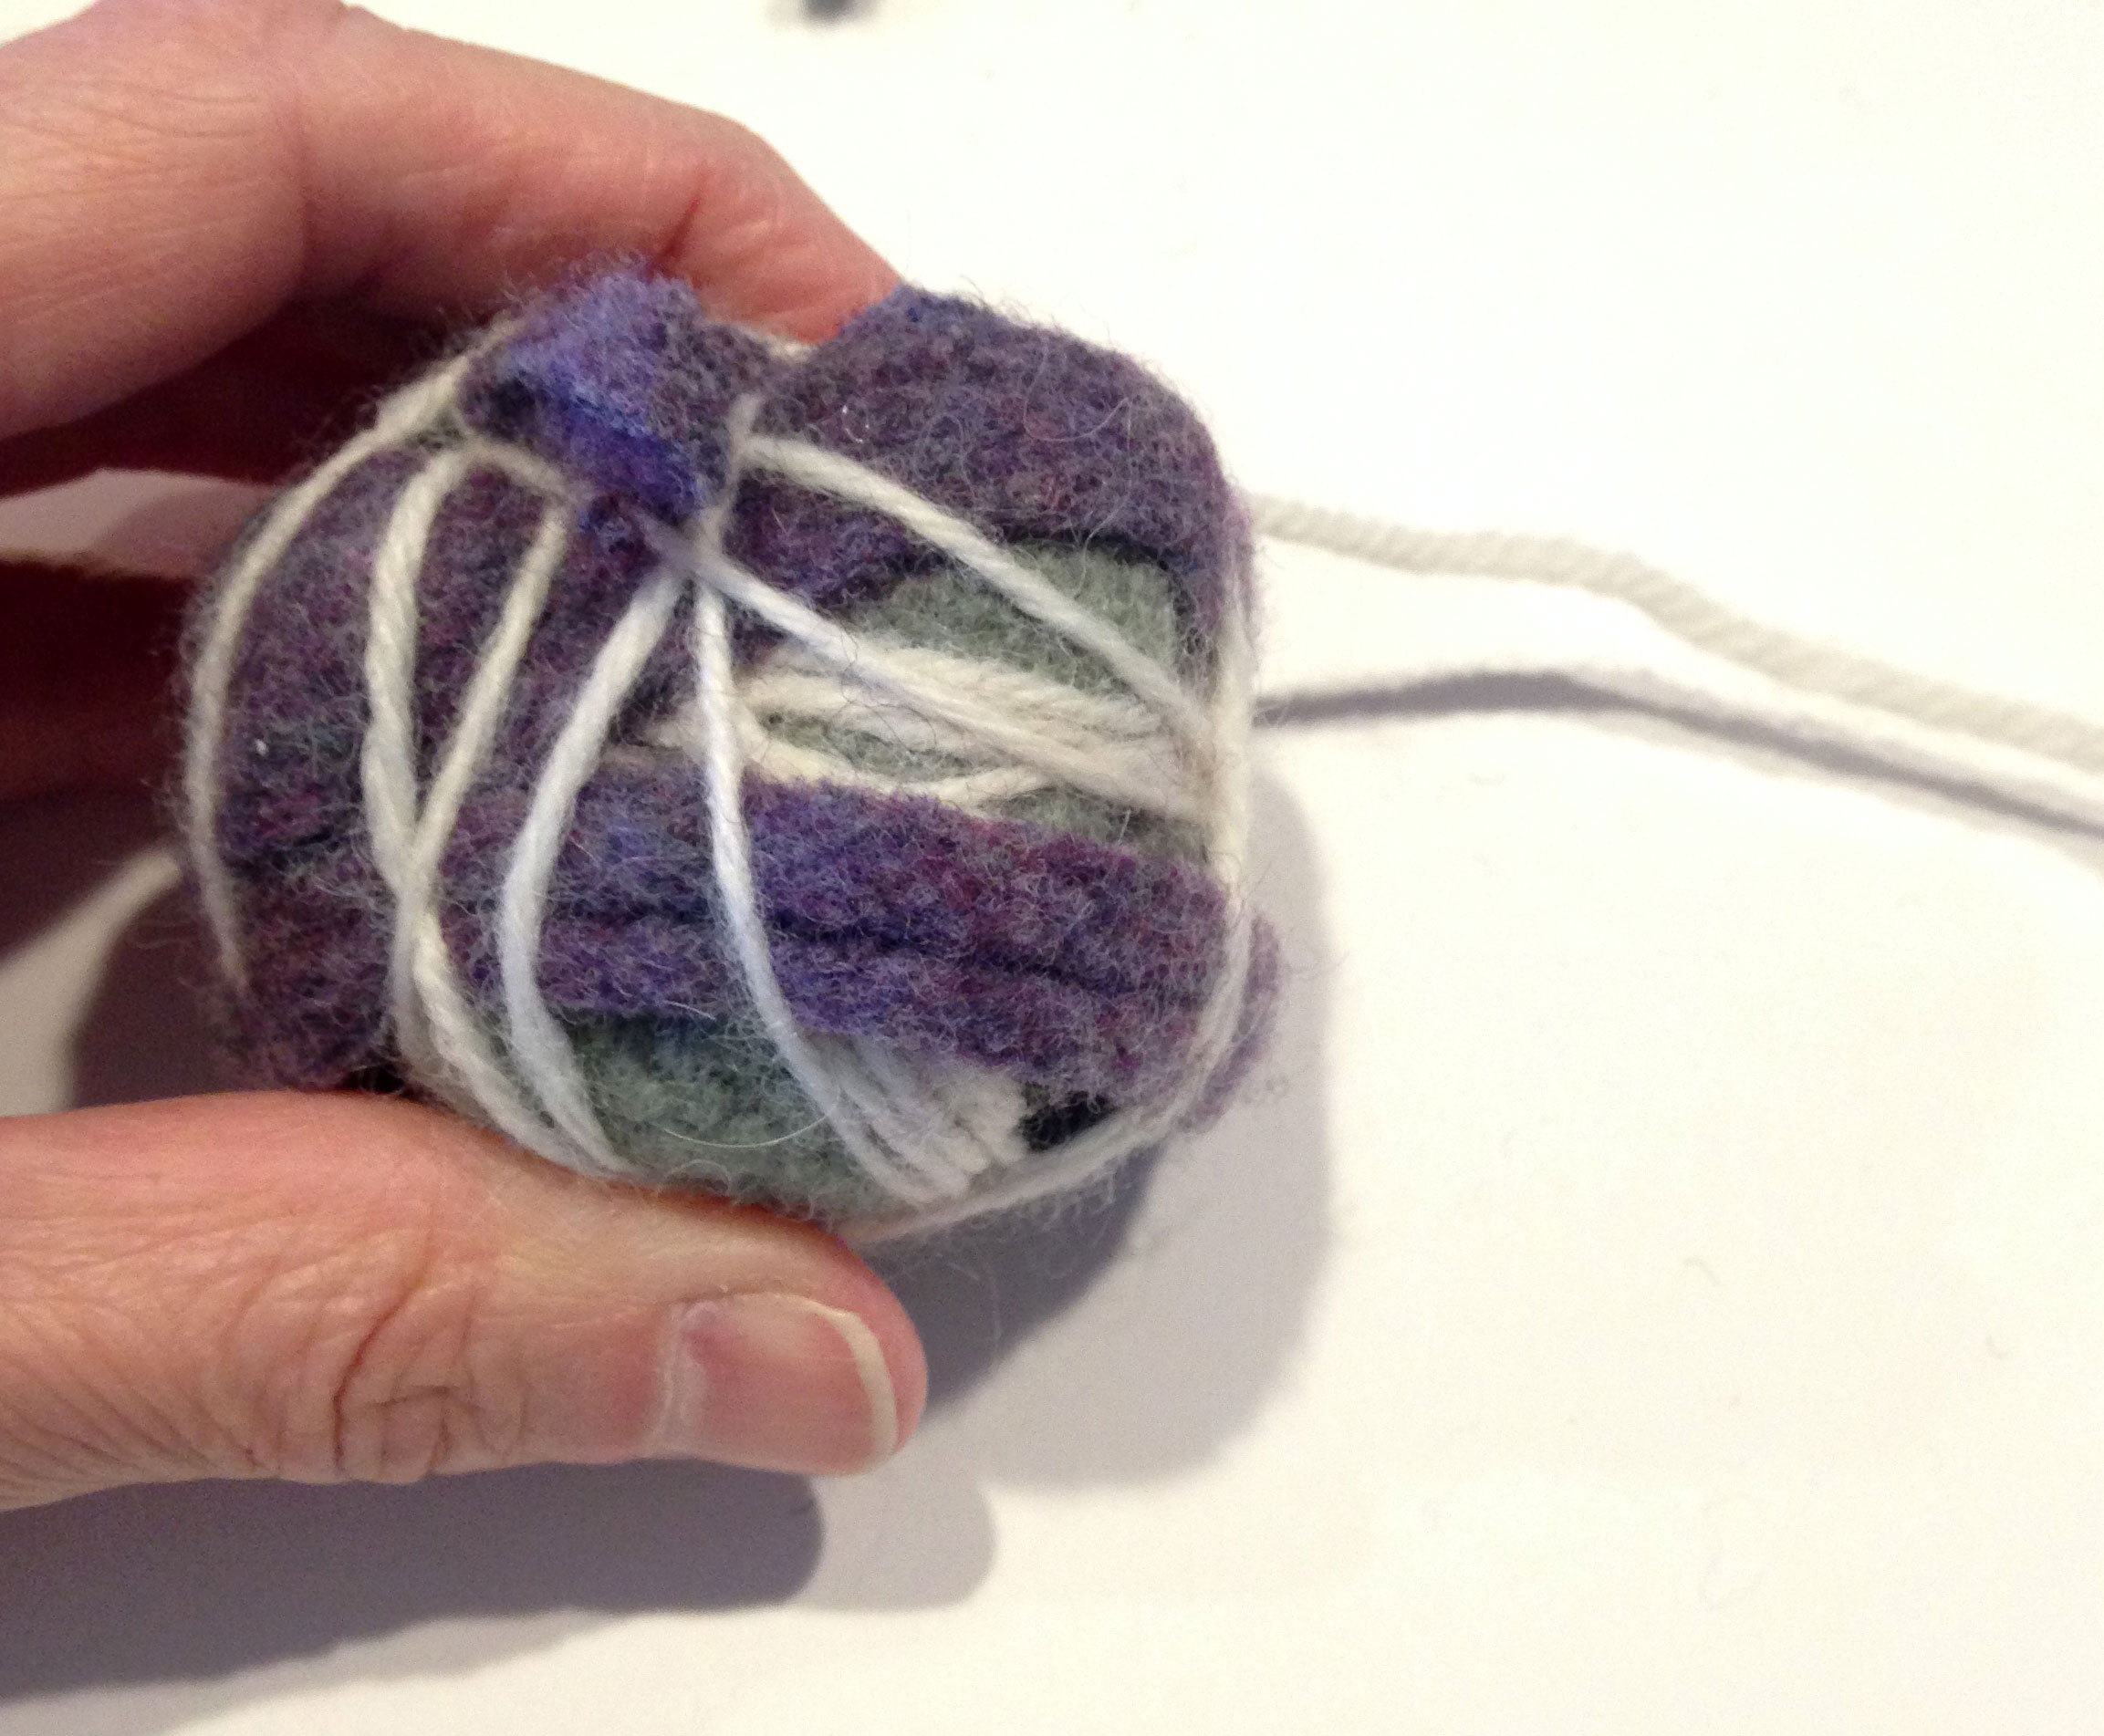
3. Color selection. Ahhh, this is where the granny square shines. There are infinite possibilities for the colors of your granny. Use up scraps and make each round a different color.
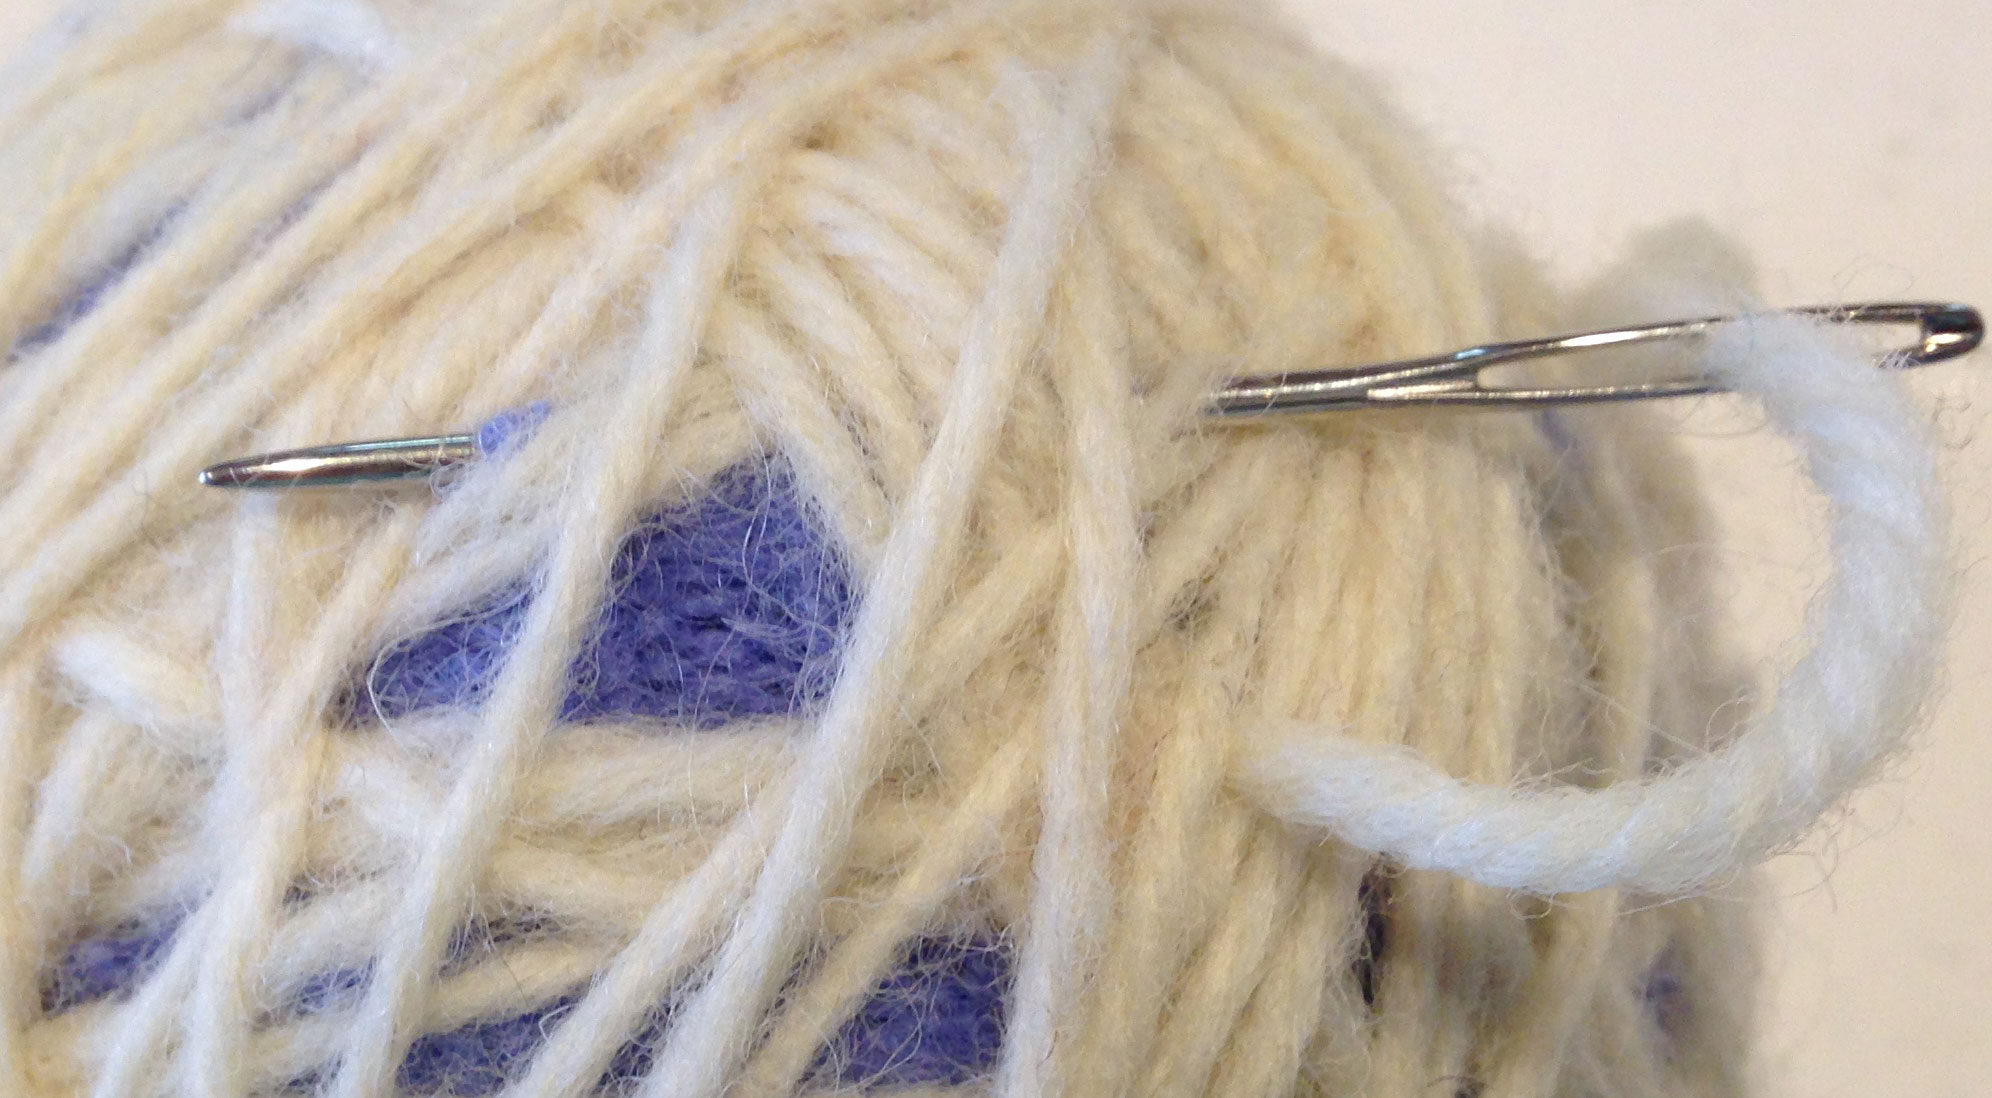
*TIP! Vary the corner where you add and end your new yarn. This will prevent all the ends from being woven in at the same location.
So how do you know which colors work well together? Some people are gifted with an innate ability to blend colors. Other people need assistance. If you feel you are one of those who needs help grouping colors together, try what I do…learn by what others have done! No need to reinvent the (color) wheel. Take a look at other crocheted projects and see what color combinations appeal to you. Find something you like and make note of it. Find something you don’t like and make note of that too so you don’t make the same mistake.
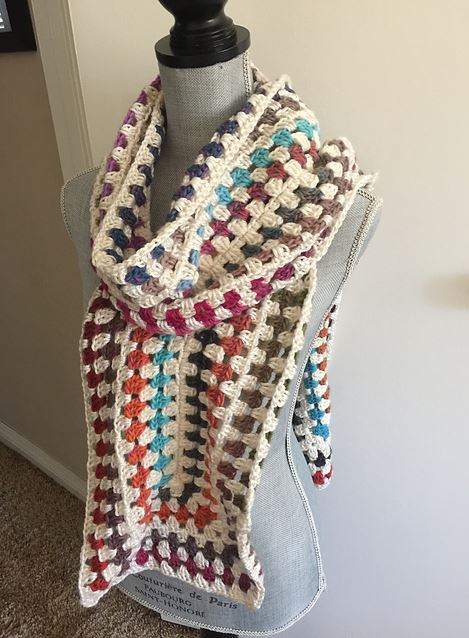
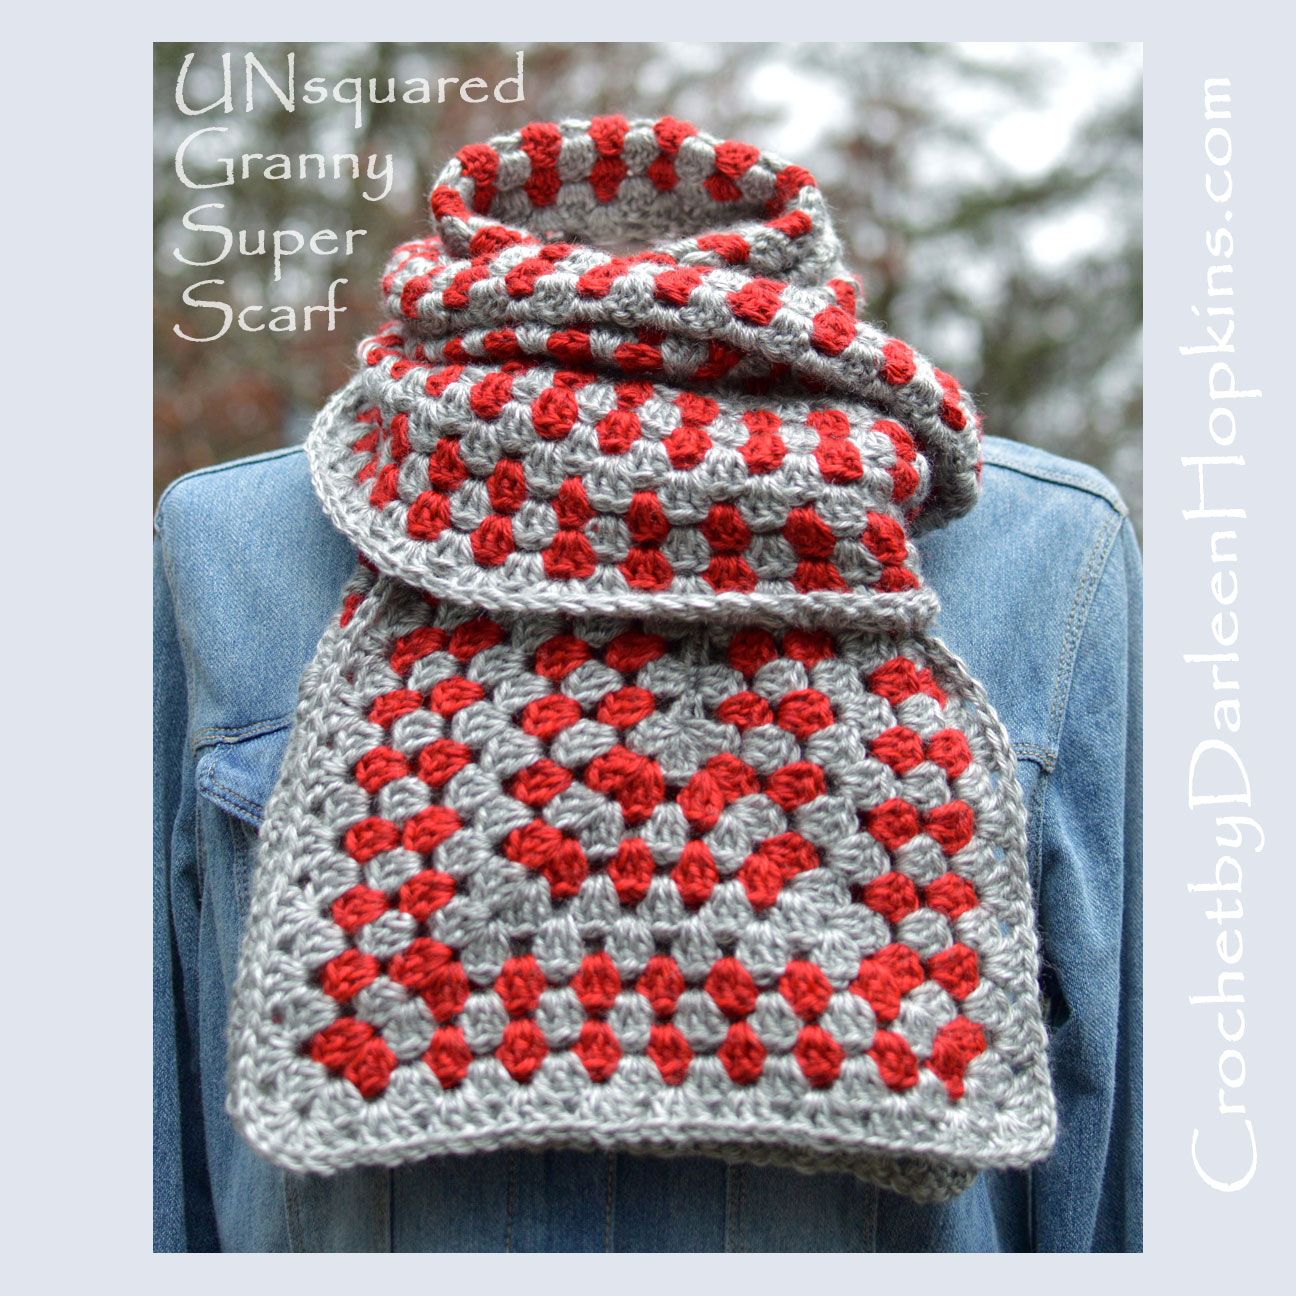
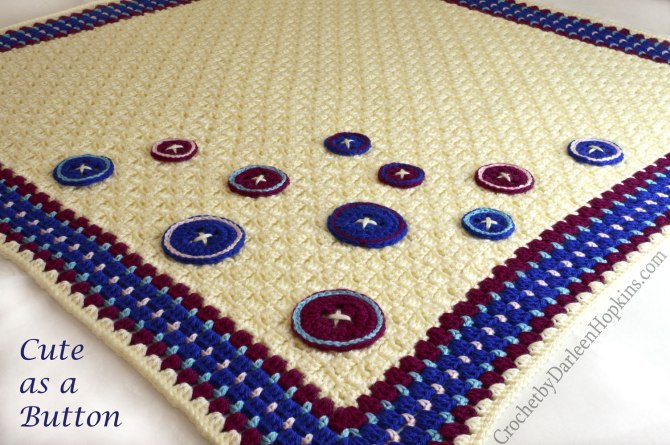
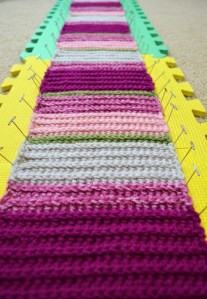
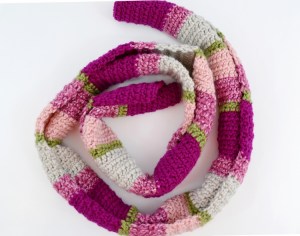
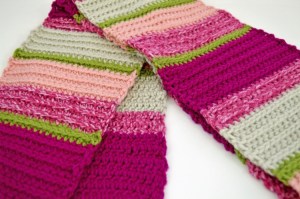
Dora’s UnSquared Granny Scarf. She used up three different color changing balls of yarn (Boreal in Fireweed, Beaver and Taiga). Every other round is solid off-white to tie it all together. Perfect! Ravelry members can view her project here.
Another option to use are free online sources. Do an internet search for “color wheel” and you will find a number of sites dedicated to helping you select colors that look great together. A couple combinations are contrasting colors; opposites sides of the color wheel, monochromatic colors; different values of the same color, and analogous; colors that are adjacent on the color wheel. The better you understand the color wheel, the easier it will be for you to visualize colors for your projects. Once you select the colors you like, do an internet search for “random stripe generator”. There are a number of these available online for free. Some are simple and some are complex. Play with them and get some ideas of how you want to space out your selected colors.
Last, in regards to color, remember to have fun with it. If you are making a project with a number of grannies, make each granny slightly different. For example, maybe you picked out four analogous colors for a granny square blanket. One option is to make a number of small grannies, randomly using only three of the selected four colors for each square and then stitch them all together. If you are staying within the same color scheme, the squares do not have to be identical to work well together.
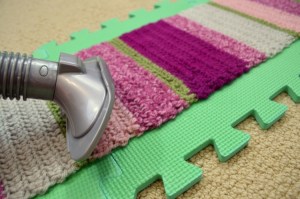
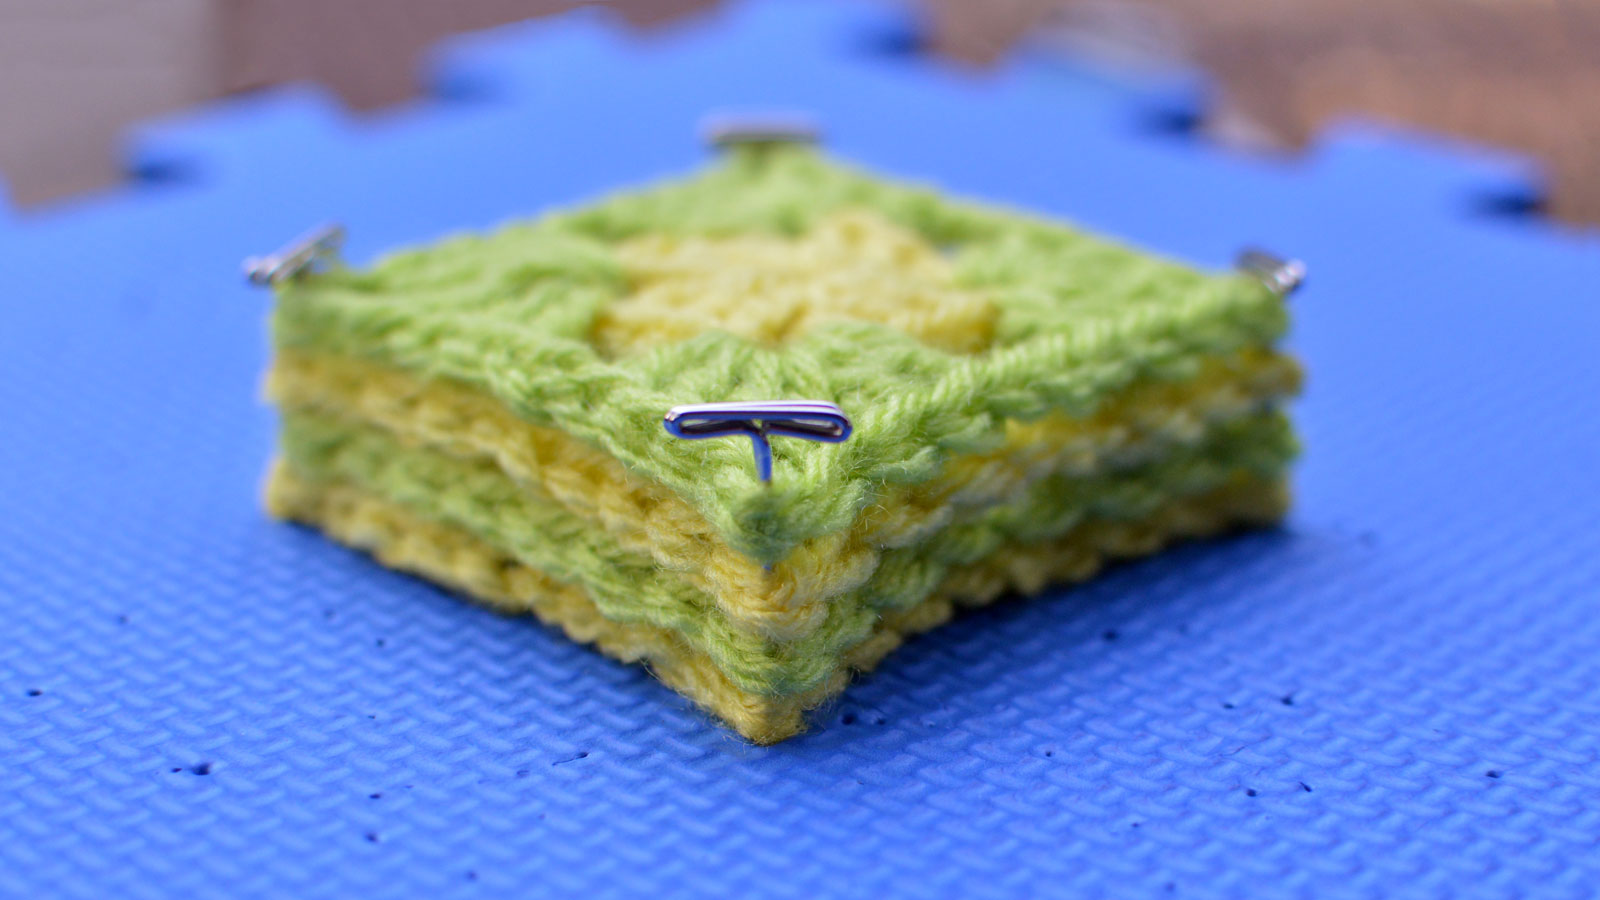
4. Blocking. Yes, this is an important step and should not be overlooked. You should block your grannies. This will give them shape. And if you are joining grannies together, you want them to be consistent in size. This will make it a lot easier to join. A simple way to block your grannies is to block them all together, one on top of the other. And remember, always block your squares with a method that is appropriate for your yarn.
*TIP! Measure the distance between your blocking pins for a perfect square.
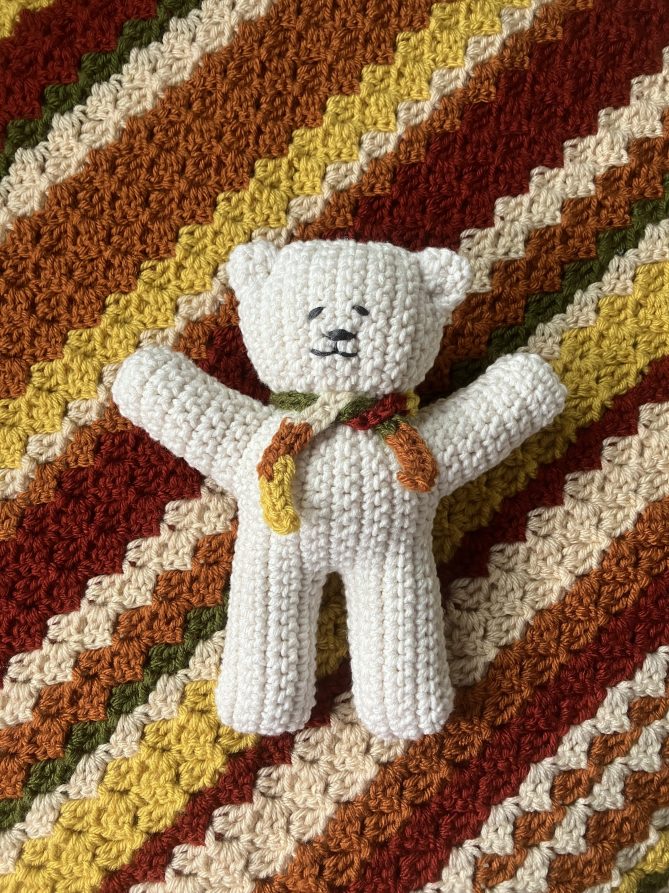
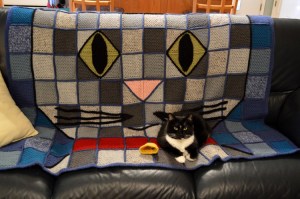
Get creative. You can make so many different things with the simple granny square. Whether you choose to make one gigantic granny square or join many grannies together, the possibilities are endless. Make a pillow, an afghan, a scarf, a blanket edging, a headband, a bag, a belt or a baby blanket. Who knew you could make so many beautiful items out of something so simple?
Happy Crocheting!
Darleen
PS: Once you’ve mastered the Granny Square, have some fun and try patterns that use the iconic granny formula but mix it up a little.